将下列代码放入<常规设置-底部HTML标签>中(图片可自己更换)
<style>
$(function(){
$('.avatar-parent').prepend('<img src="https://mo.ecyxq.com/wp-content/uploads/2023/06/2023062916382696.png" class="txgj">');
})
<script>
将下列代码放入子主题style.css样式中
.txgj {
    top: -2px;
    transform: scale(1.7);
    width: 90px;
    position: absolute;
}
.top-user-info-box-name .txgj{
    left: -5px;
    transform: scale(1);
    top: 6px;
}
.post-meta-left .txgj{
    display: none;
}
.post-meta-left .avatar-parent .txgj{
    display: block;
    transform: scale(1.6);
    left: 0px!important;
}.social-top .header-login-button button {
    color: #FFF;
    background: var(--b2color);
}
.comment-content-text p{
    display: initial;
}
.comment .gravatar img {
    border-radius: 100%;
}
.comment-content-text img{
    vertical-align: text-bottom;
}
强制刷新即可看到效果
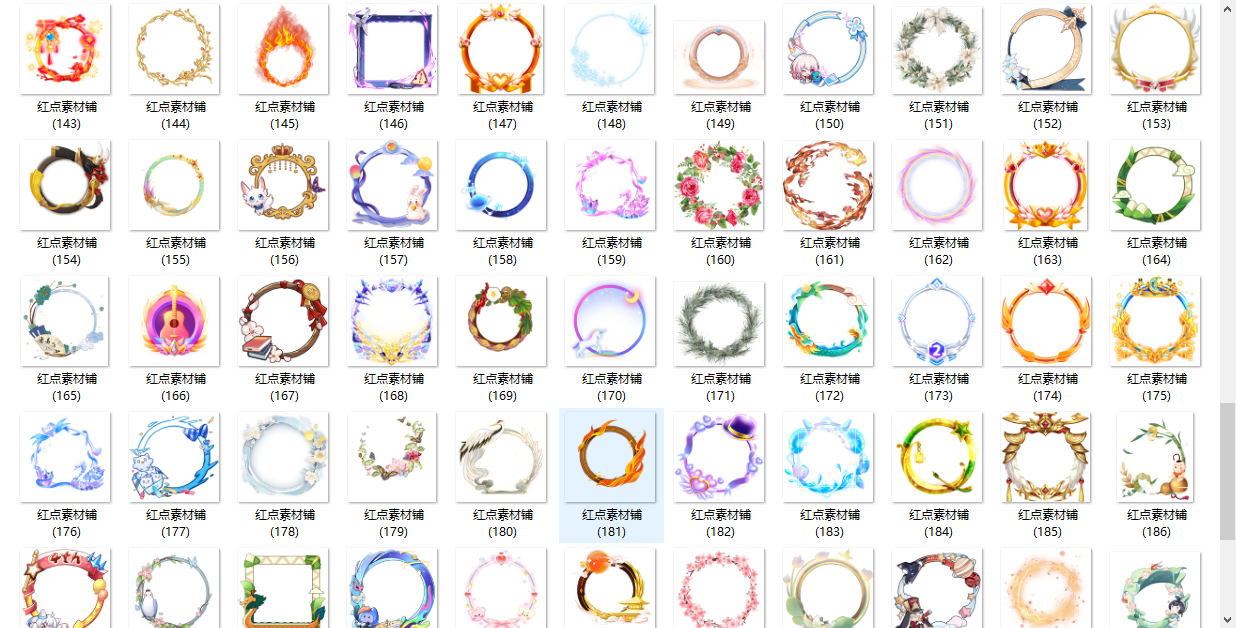
头像框插件素材分享
发表回复
要发表评论,您必须先登录。